Manage Portfolios
- JeanH (Deactivated)
- Marc-André Thibodeau
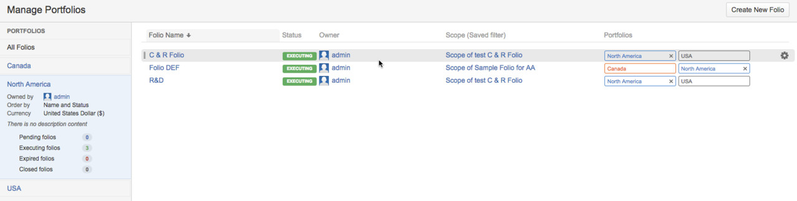
The Manage Portfolios screen is the main entry point for consulting the list of existing Folios and Portfolios, and creating, configuring or deleting them. It is accessible through the main Tempo Folio menu located in JIRA's top bar (Tempo > Portfolios > more...). The screen has two sections:
Each one gives you access to a wide number of operations, including associating Folios with Portfolios by drag and dropping elements from the Folios List to those of the Portfolios List.
PortfoliosThe Portfolios column displays existing Portfolios that you are authorized to see. These are:
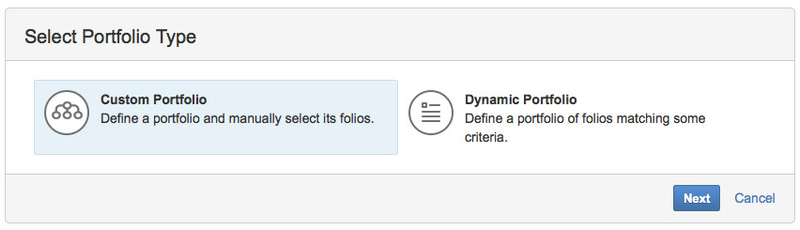
The portfolios are sorted by name. Adding a PortfolioTo add a new Portfolio, first hover the Portfolios column on the left and click the Create Portfolio link that appears in the upper right corner. Portfolio creation optionsOnce you are presented with the portfolio creation dialog, you can proceed with portfolio creation in various ways.
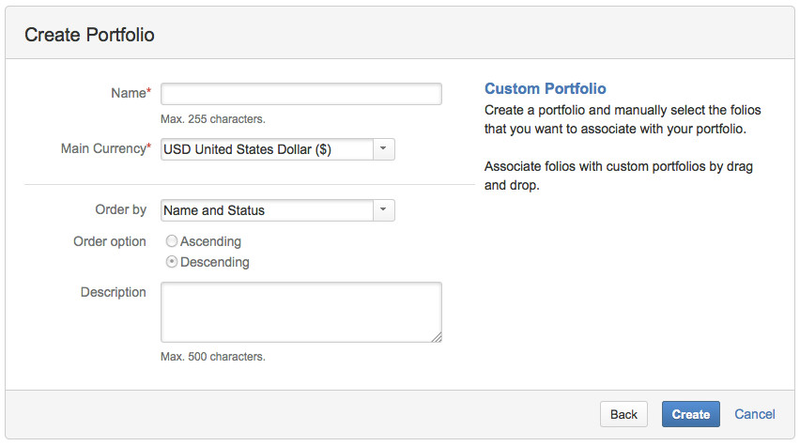
Custom PortfolioUse this option when you want to create a Portfolio to which you can decide which Folios are associated or not.
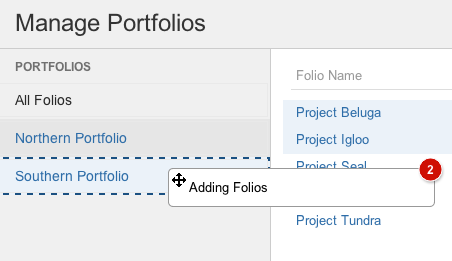
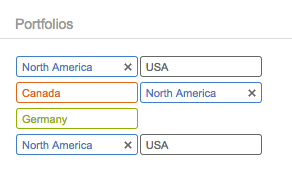
Adding a Folio to a Custom PortfolioTo add one or more Folios to a Portfolio, select the Folios in the Folios list and then drag them to the desired Portfolio. The Portfolio will be highlighted when hovered and the number of associated Folios is shown in a circle in the upper right corner of the dragged box.
Folios can only be associated to the Portfolios that you own. Removing a Folio from a PortfolioTo remove a Folio from a Portfolio, click on the x found in the tag of the corresponding Portfolio in the Folio's row of the Folios list.
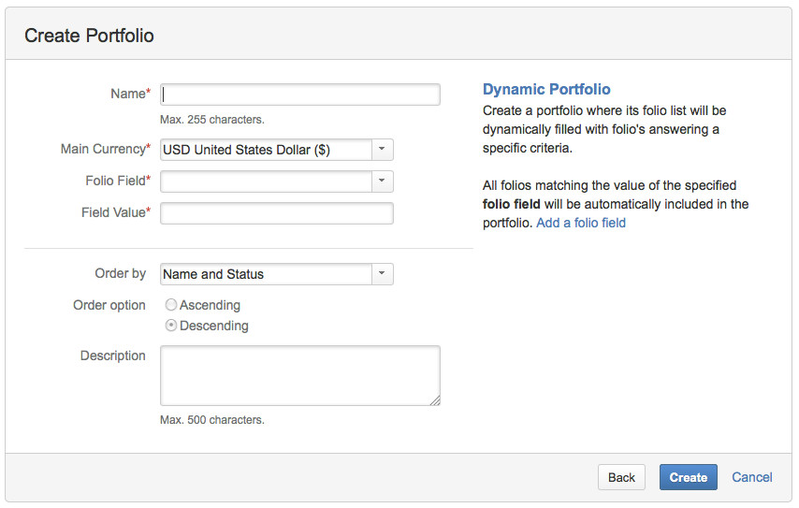
You can only remove Folios if you own the Portfolio. Dynamic Portfolio
Use this option when you want to create a portfolio to which all Folios matching a some criteria are automatically associated.
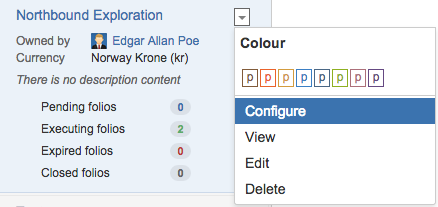
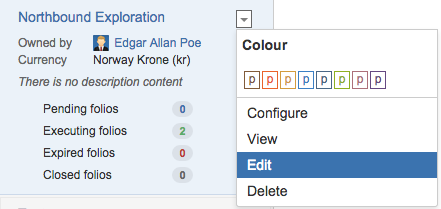
Configuring a PortfolioTo configure a Portfolio, hover it in the Portfolios column and then click the drop-down arrow that appears. Click Configure to bring up the Configure Portfolio screen.
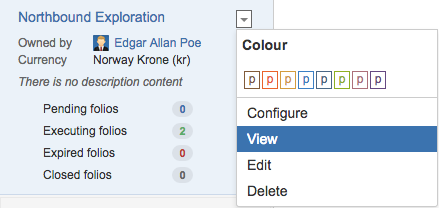
Viewing a PortfolioTo open and view a Portfolio, either click on the Portfolio's name in the Portfolios column, or hover it in and then click the drop-down arrow that appears. Click View to bring up the Portfolio's Overview screen.
Editing a PortfolioTo edit a Portfolio, hover it in the Portfolios column and then click the drop-down arrow that appears. Click Edit to bring up the Edit Portfolio dialog (refer to the creation dialog of the corresponding Portfolio type).
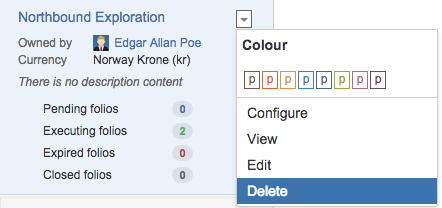
Deleting a PortfolioTo delete a Portfolio, hover it in the Portfolios column and then click the drop-down arrow that appears. Click Delete and confirm to delete the Portfolio. Deleting a portfolio does not delete the Folios that are associated with it.
FoliosThe Folios panel shows the list of existing Folios that you are authorized to see and their summary information. Folios you can see are:
The Folios are sorted by their name by default, unless specified otherwise in the Global Configuration. Customizing Folio informationTo customize the information displayed about Folios, Folio custom fields can be added as a columns by starring them in the Tempo Folio's global configuration.
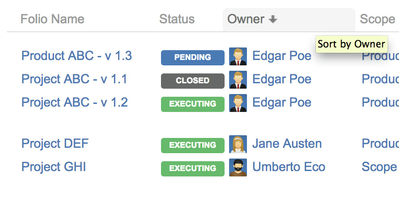
Sorting FoliosFolios can be sorted in various ways in the Manage Portfolios screen. First, a default sort order can be defined on Folio Custom Field through the Global configuration. Second, you can click on the header of a column in the Folios table. Clicking again on the same column header reverses the sort order. The sort order thus selected is memorized in your browser for later accesses to that page.
Creating a FolioTo create a new Folio, click on the Create New Folio button in the upper right corner of the screen, or type n shortcut key.
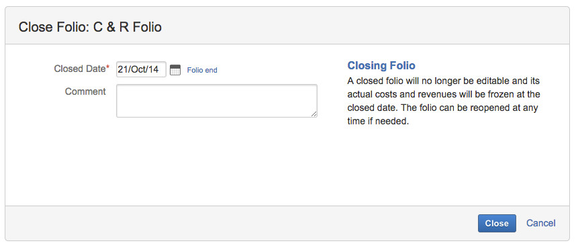
Closing a FolioClose a Folio to clearly indicate that this project is finished. When closed, a Folio is no longer editable and its actual costs and revenues are frozen at the close date. Closed Folios can be reopened at any time if needed. To close a Folio, first select it by clicking on the Folio's row in the list and then click the cog that appears and select Close. This brings up the Close Folio dialog.
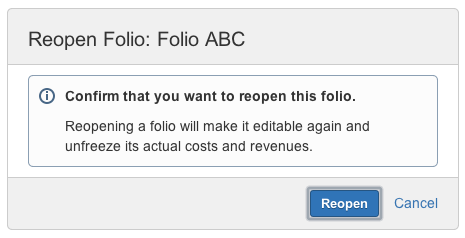
Reopening a FolioYou can reopen a closed Folio. To reopen a folio, first select it by clicking on the Folio's row in the list and then click the cog that appears and select Reopen. Confirm to Reopen the Folio.
Copying a FolioTo copy a Folio and its data, first select it by clicking on the Folio's row in the list and then click the cog that appears and select Copy. You can alternatively type v when the row is selected. This brings up the Copy Folio dialog.
When copying, the new Folio created inherits the Scope of the copied folio. The new Folio's saved filter is also set as private but can easily be shared with other users by editing its filter shares (see Folio's Permissions).
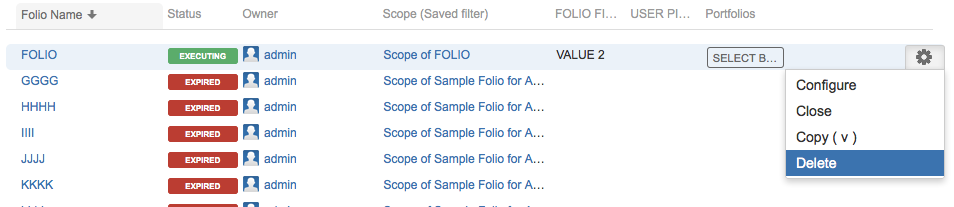
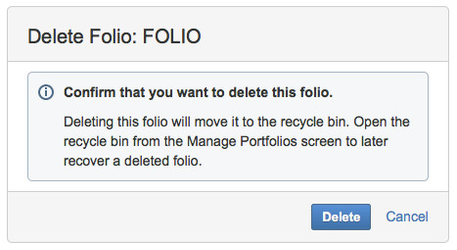
Deleting and Recovering a FolioTo delete a Folio, first select it by clicking on the Folio's row in the list and then click the cog that appears and select Delete. You can alternatively type d when the row is selected. Confirm to delete the Folio. Deleting a folio will simply move it into the recycle bin. It can be recover at anytime.
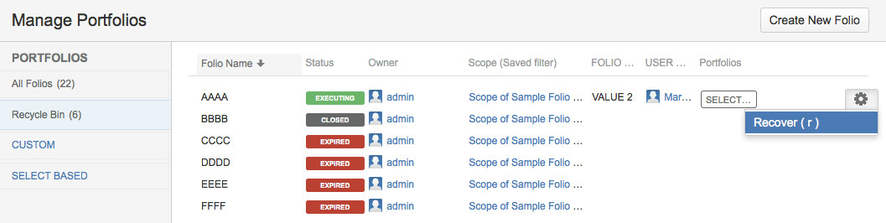
To recover a folio first select the recycle bin, select the folio by clicking on the folio's row in the list and then click the cog that appears and select Recover. You can alternatively type r when the row is selected.
Emptying the recycle bin is irreversible. All folios in the bin will be deleted permanently including all their attachments. 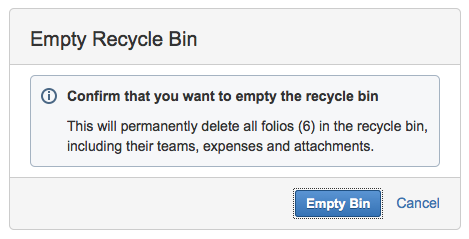 | Related pages: Video: | ||||||||||||||||||||||||||||||||||||||||||||||||||||||||||||||||